Build_Blog
本文主要介绍如何零基础搭建blog,并使用hexo框架实现,即本blog使用的框架
搭建blog
框架认识
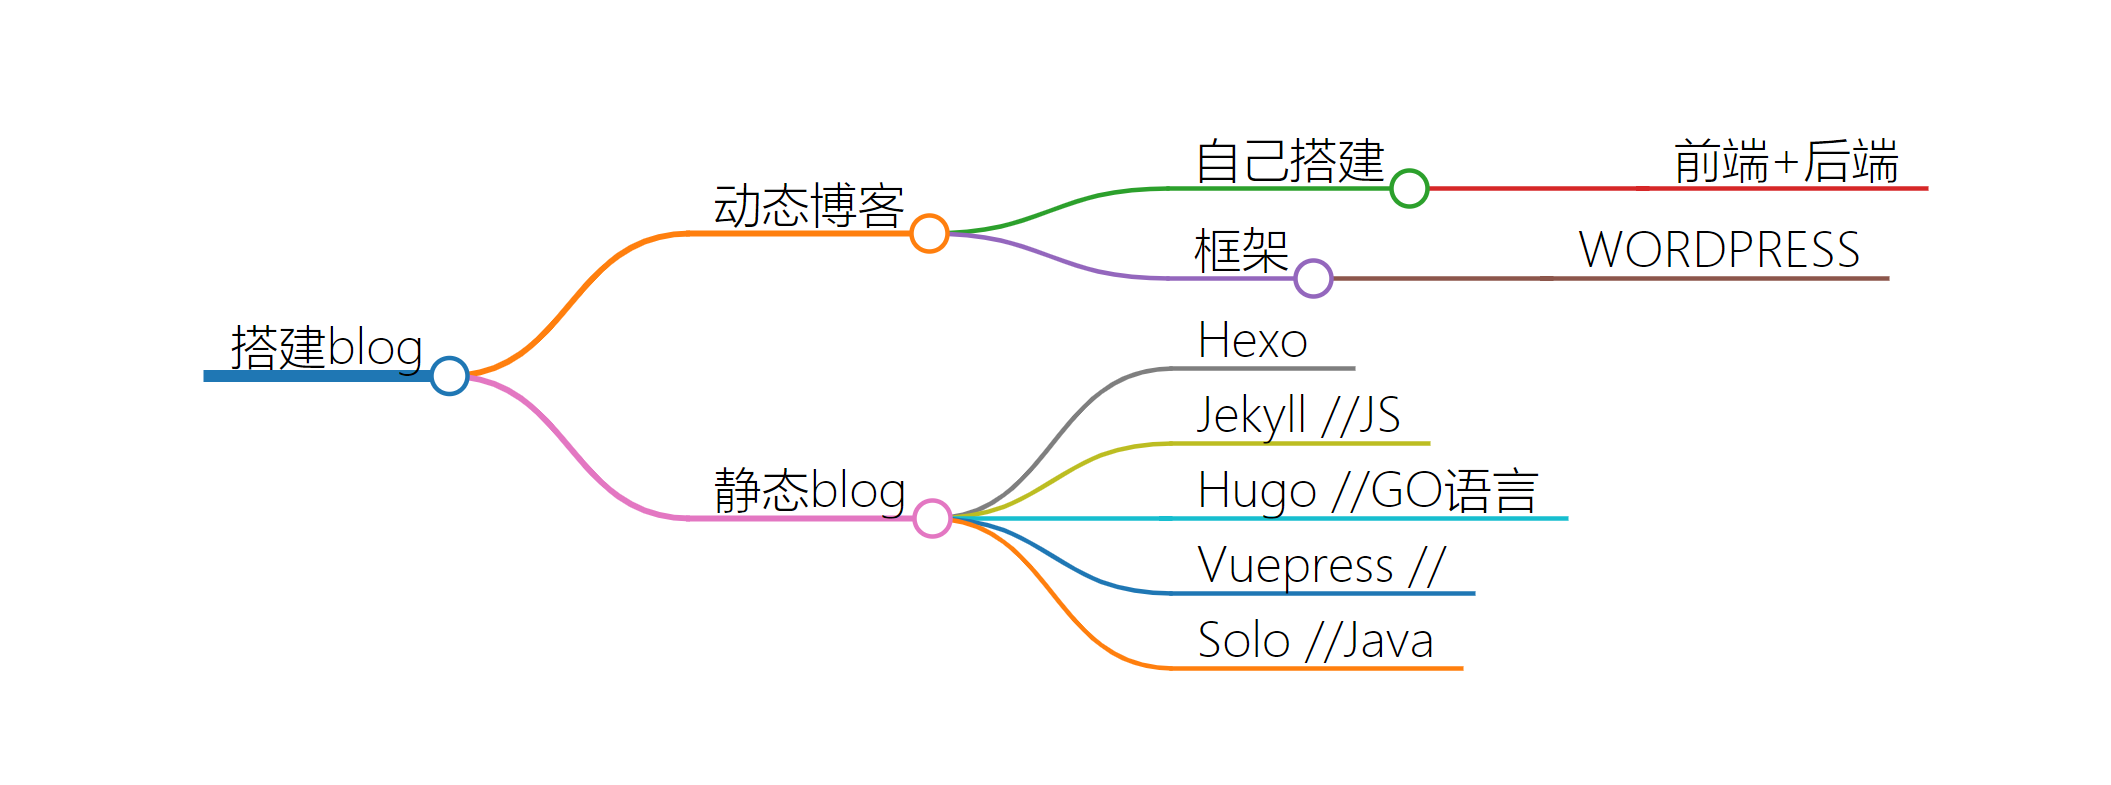
HEXO
配置:
node.js
hexo
部署到GitHub
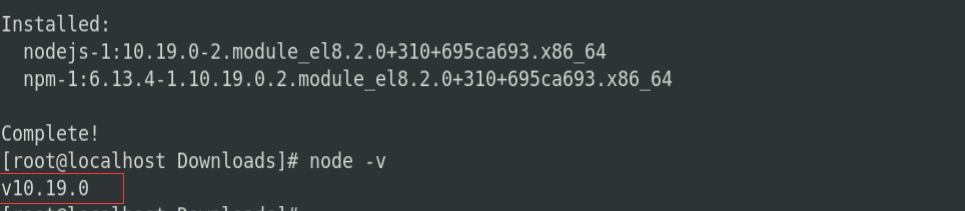
配置node.js
安装epel工具包
1 | yum info epel-release |
安装node.js
1 | yum install nodejs |
安装Hexo
1 | npm install -g hexo-cli |
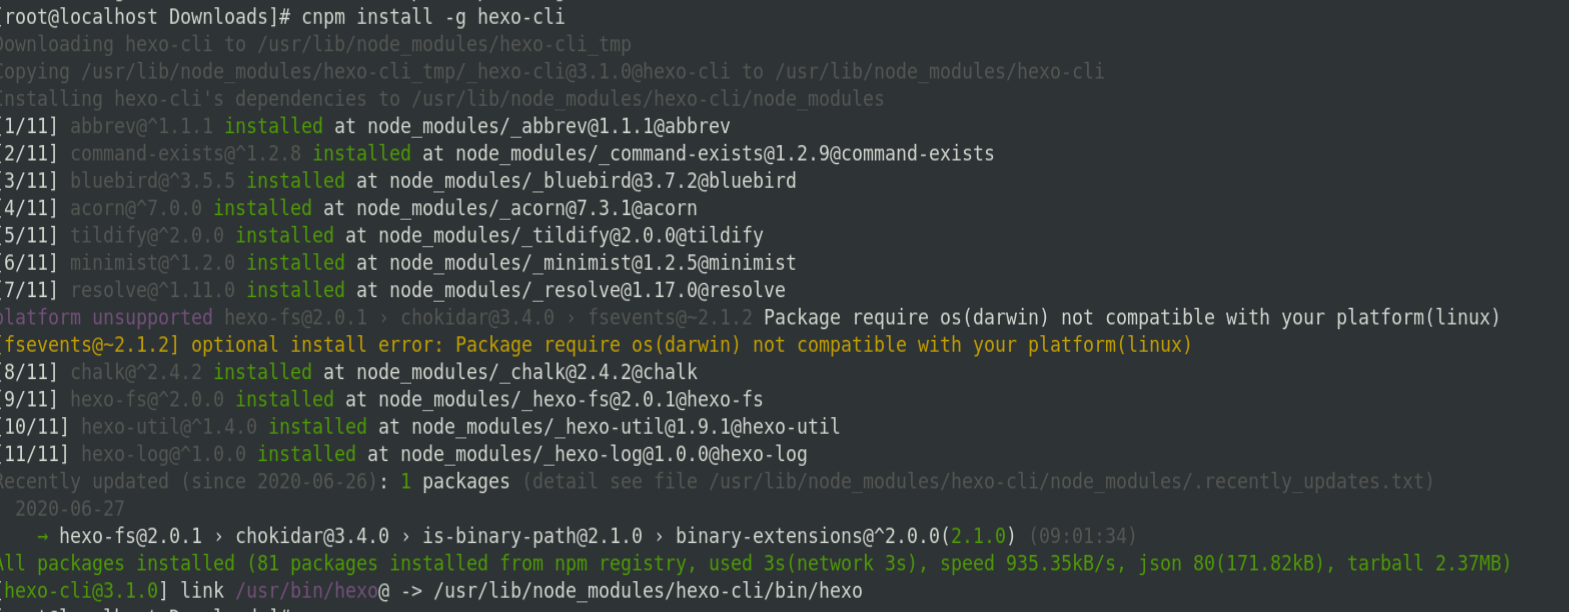
如果下载不了可以换成镜像
安装淘宝镜像源
1 | npm install -g cnpm --registry=https://registry.npm.taobao.org |
我在使用镜像安装的时候出现问题WARN Failed to install dependencies. Please run ‘npm install’ manually!
所以我直接使用的npm
配置hexo
创建文件夹 用于存储blog0的各种文件
1 | mkdir blog0 |
进入创建的文件夹
1 | cd blog0 |
初始化hexo
1 | sudo hexo init |
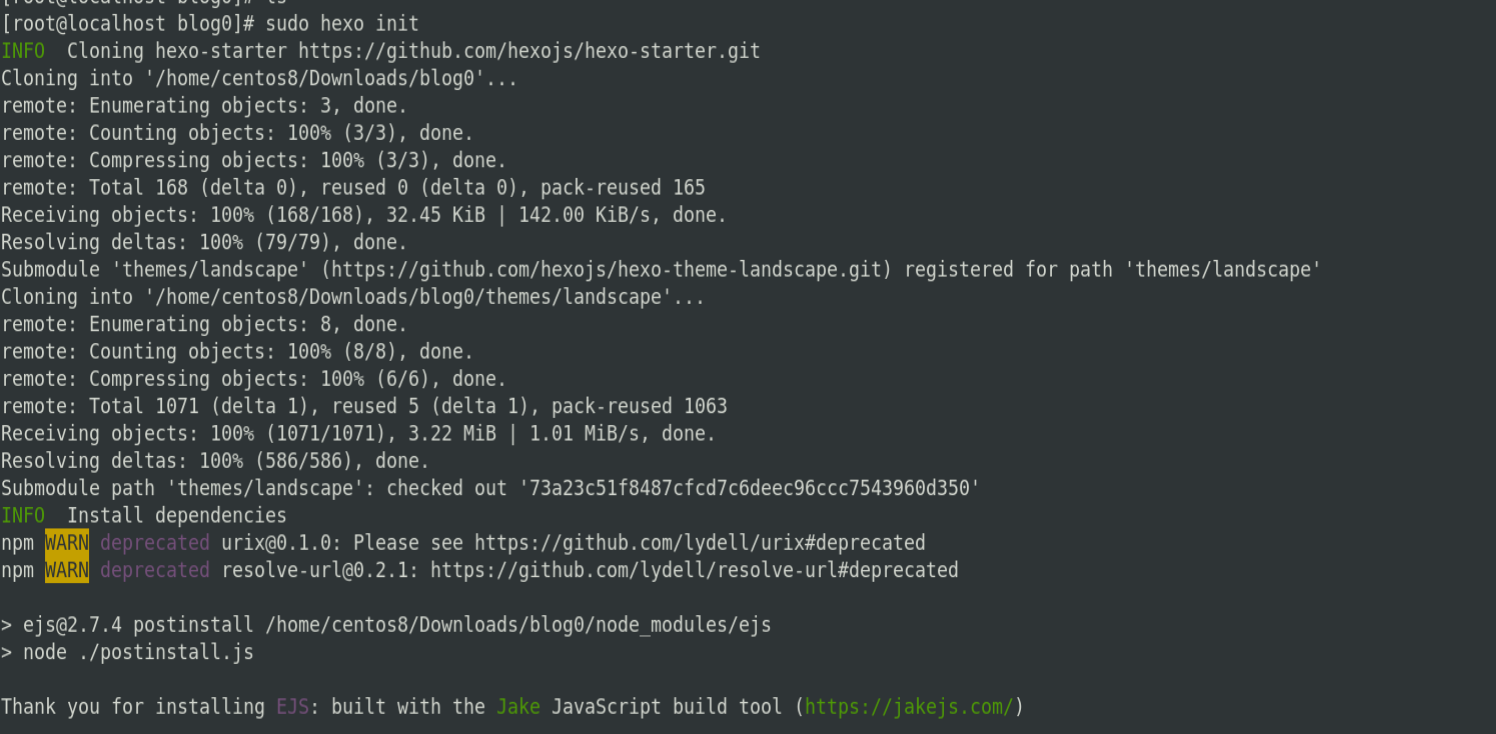
在文件夹里生成了如下文件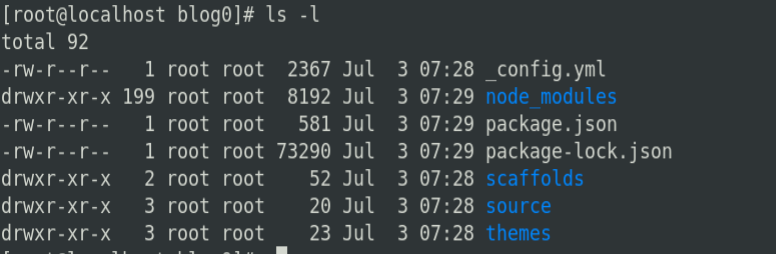
启动hexo
1 | hexo start |

初始化界面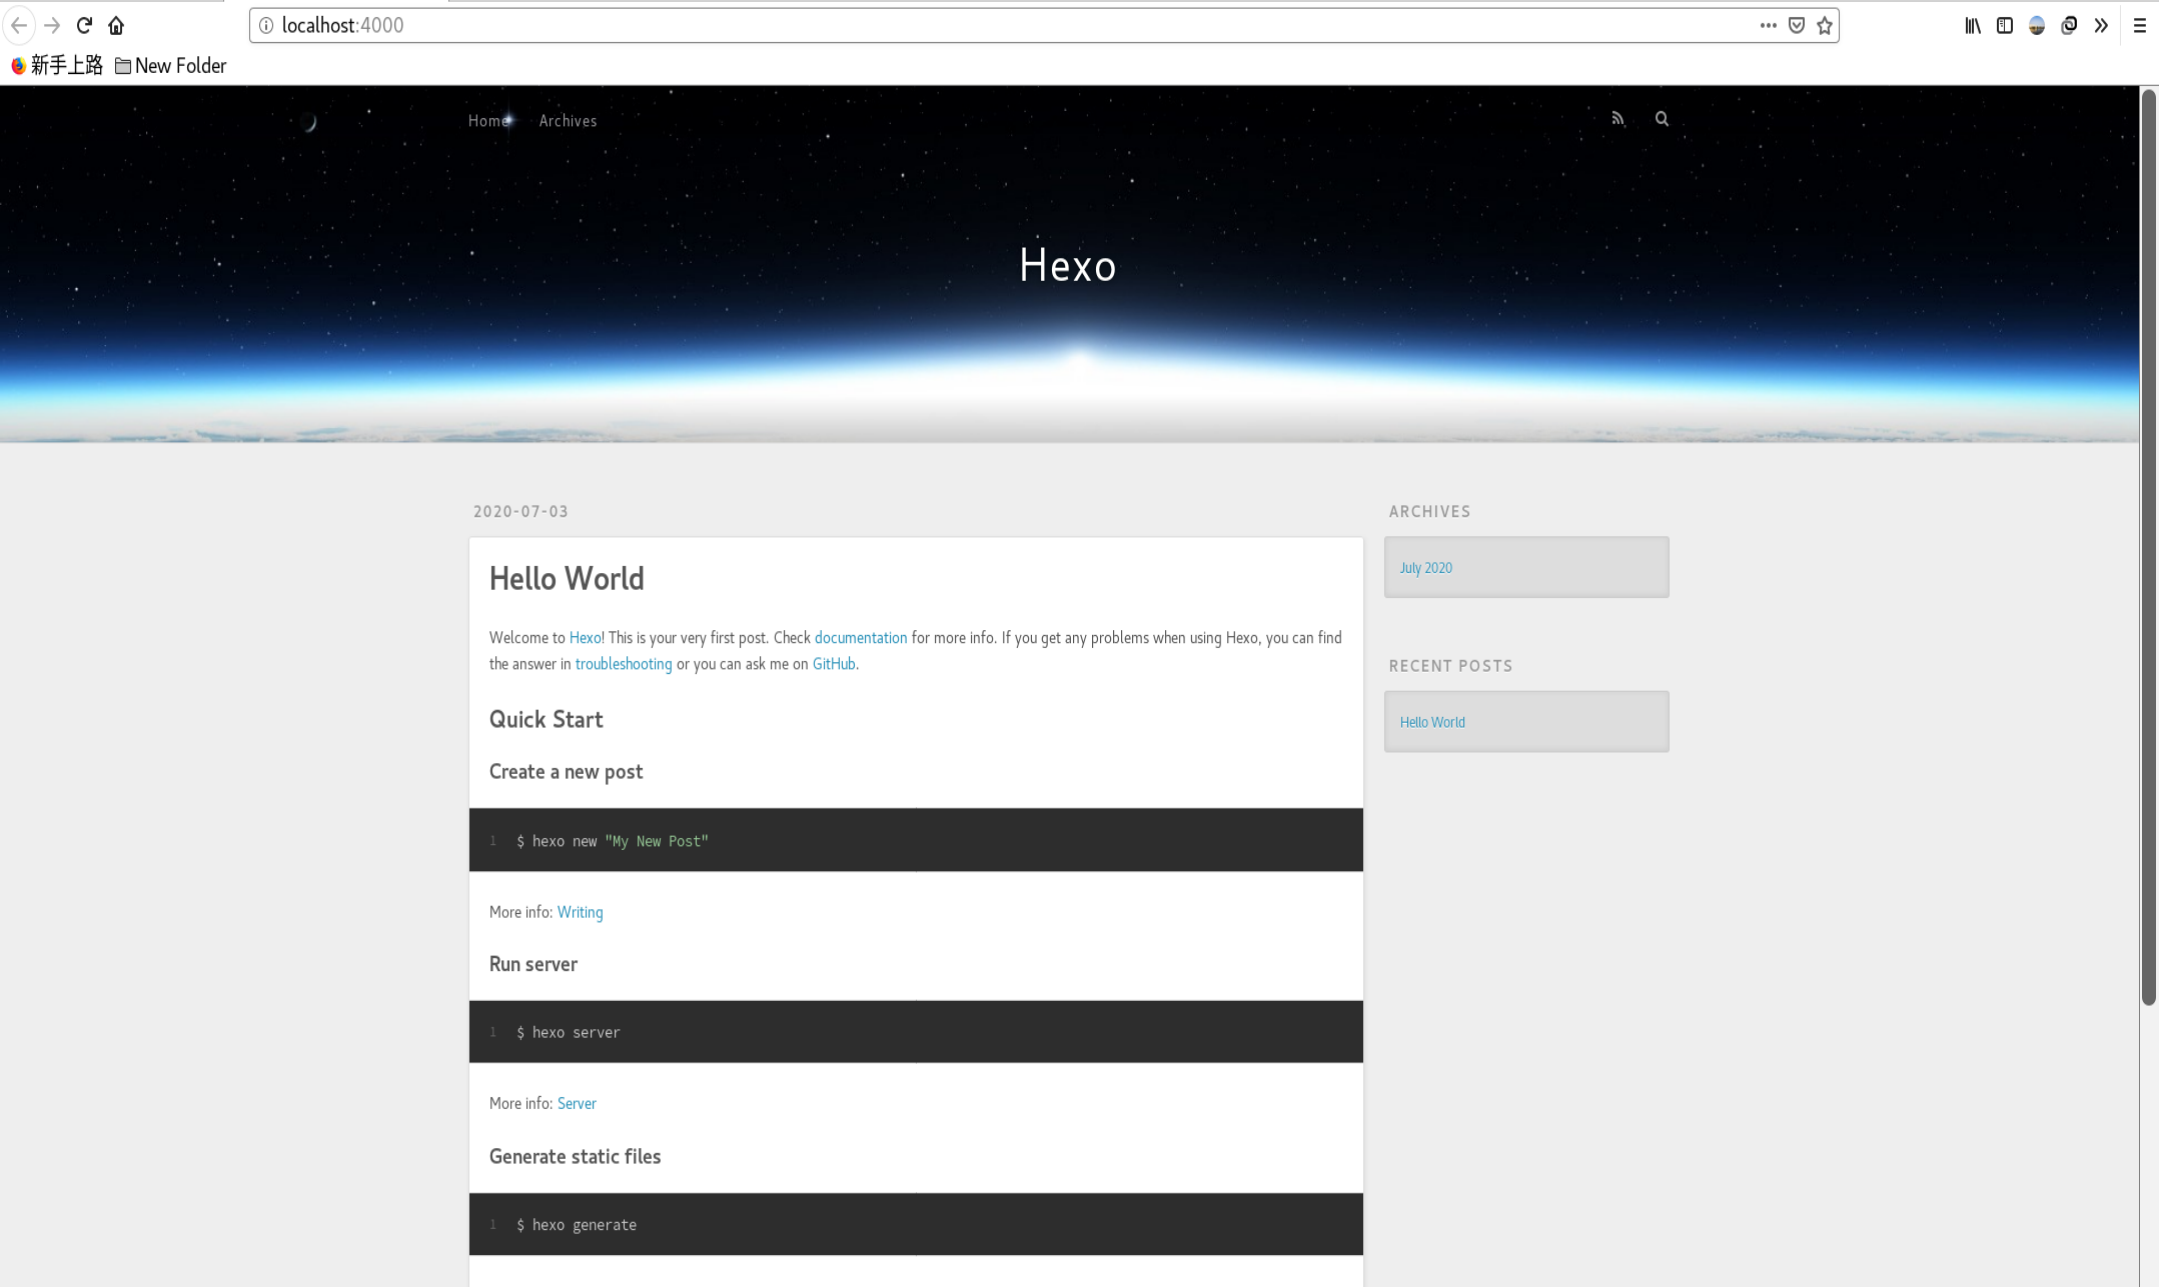
部署到GitHub
打开GitHub,并登录账号
创建一个repository
注:名字必须时账号名+.github.io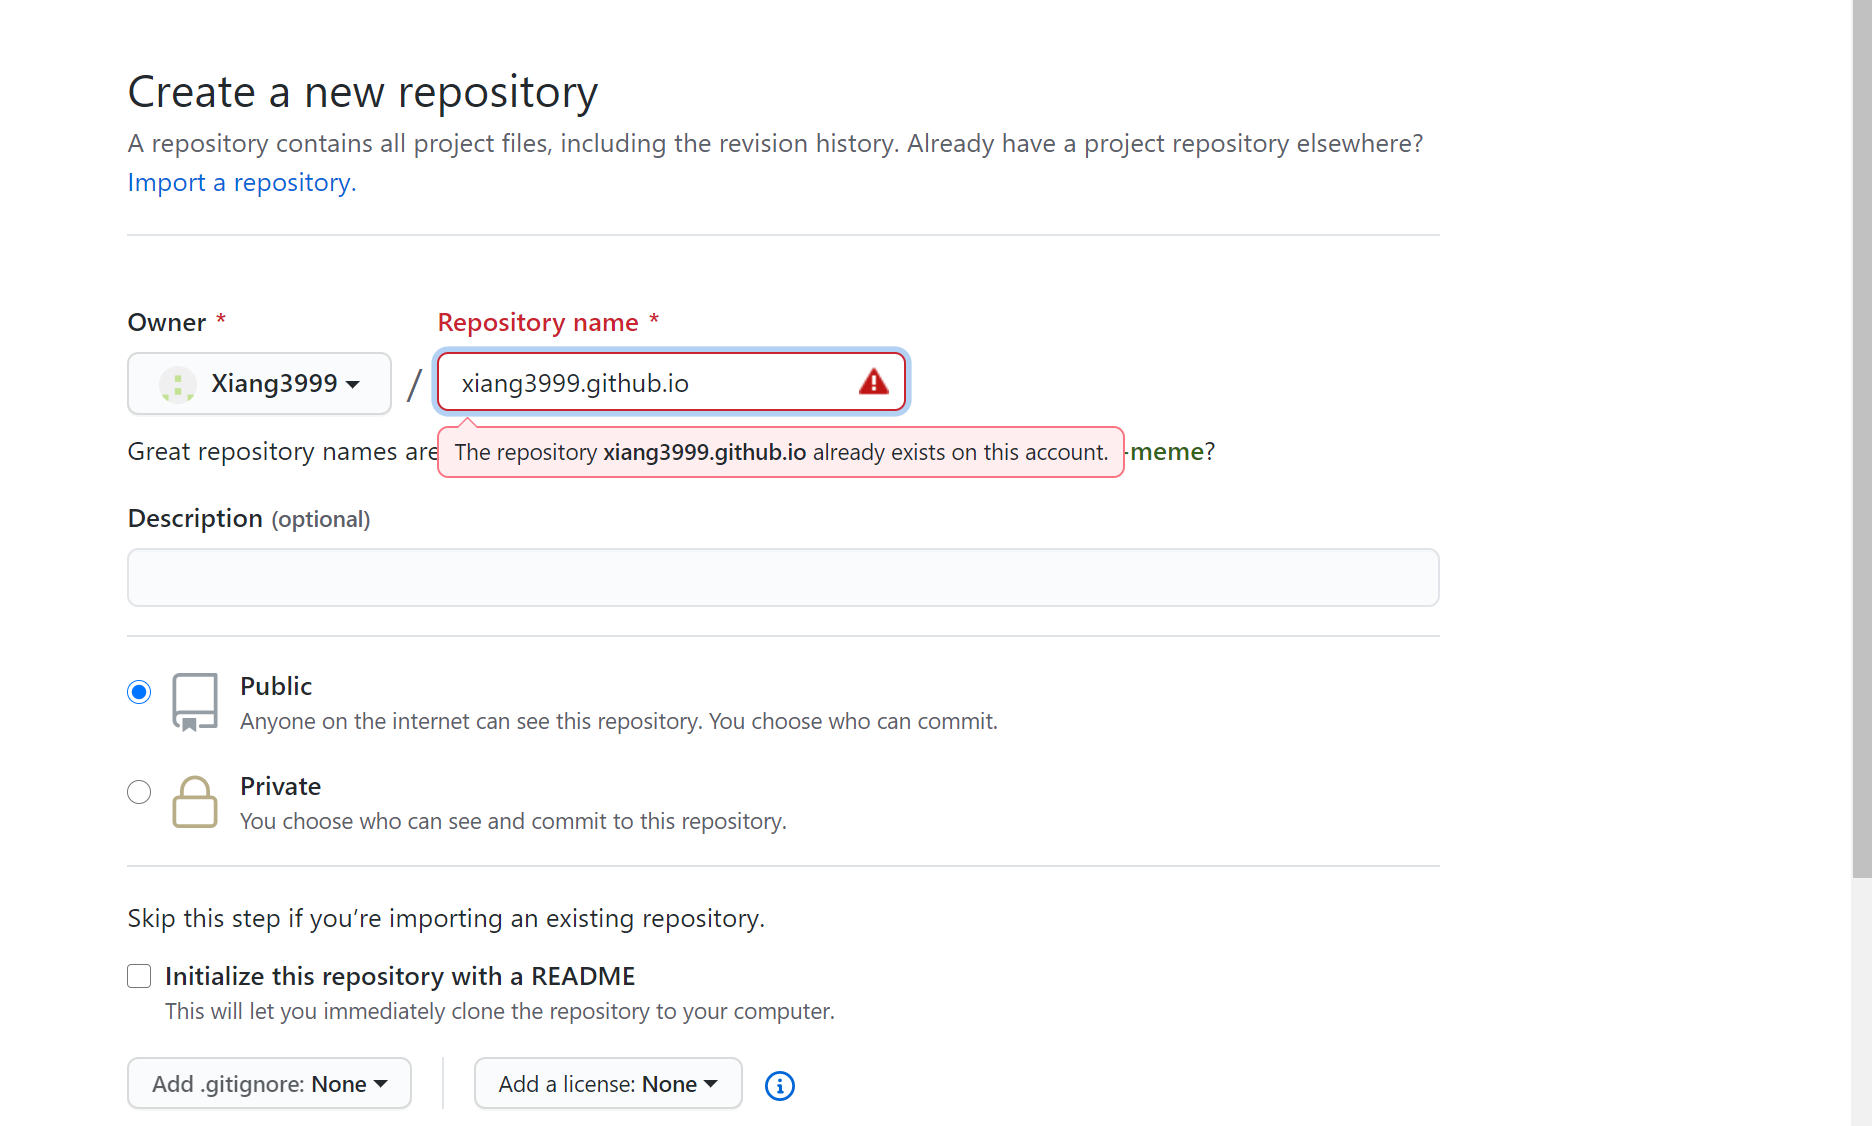
在本地blog0的文件夹内安装插件
1 | npm install --save hexo-deployer-git |
设置config文件
打开该文件
1 | vim _config.yml |
在该文档末修改
1 | type: git |
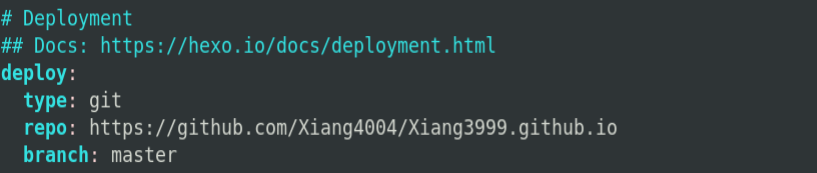
保存退出
部署到远端
1 | hexo deploy |
部署成功!!!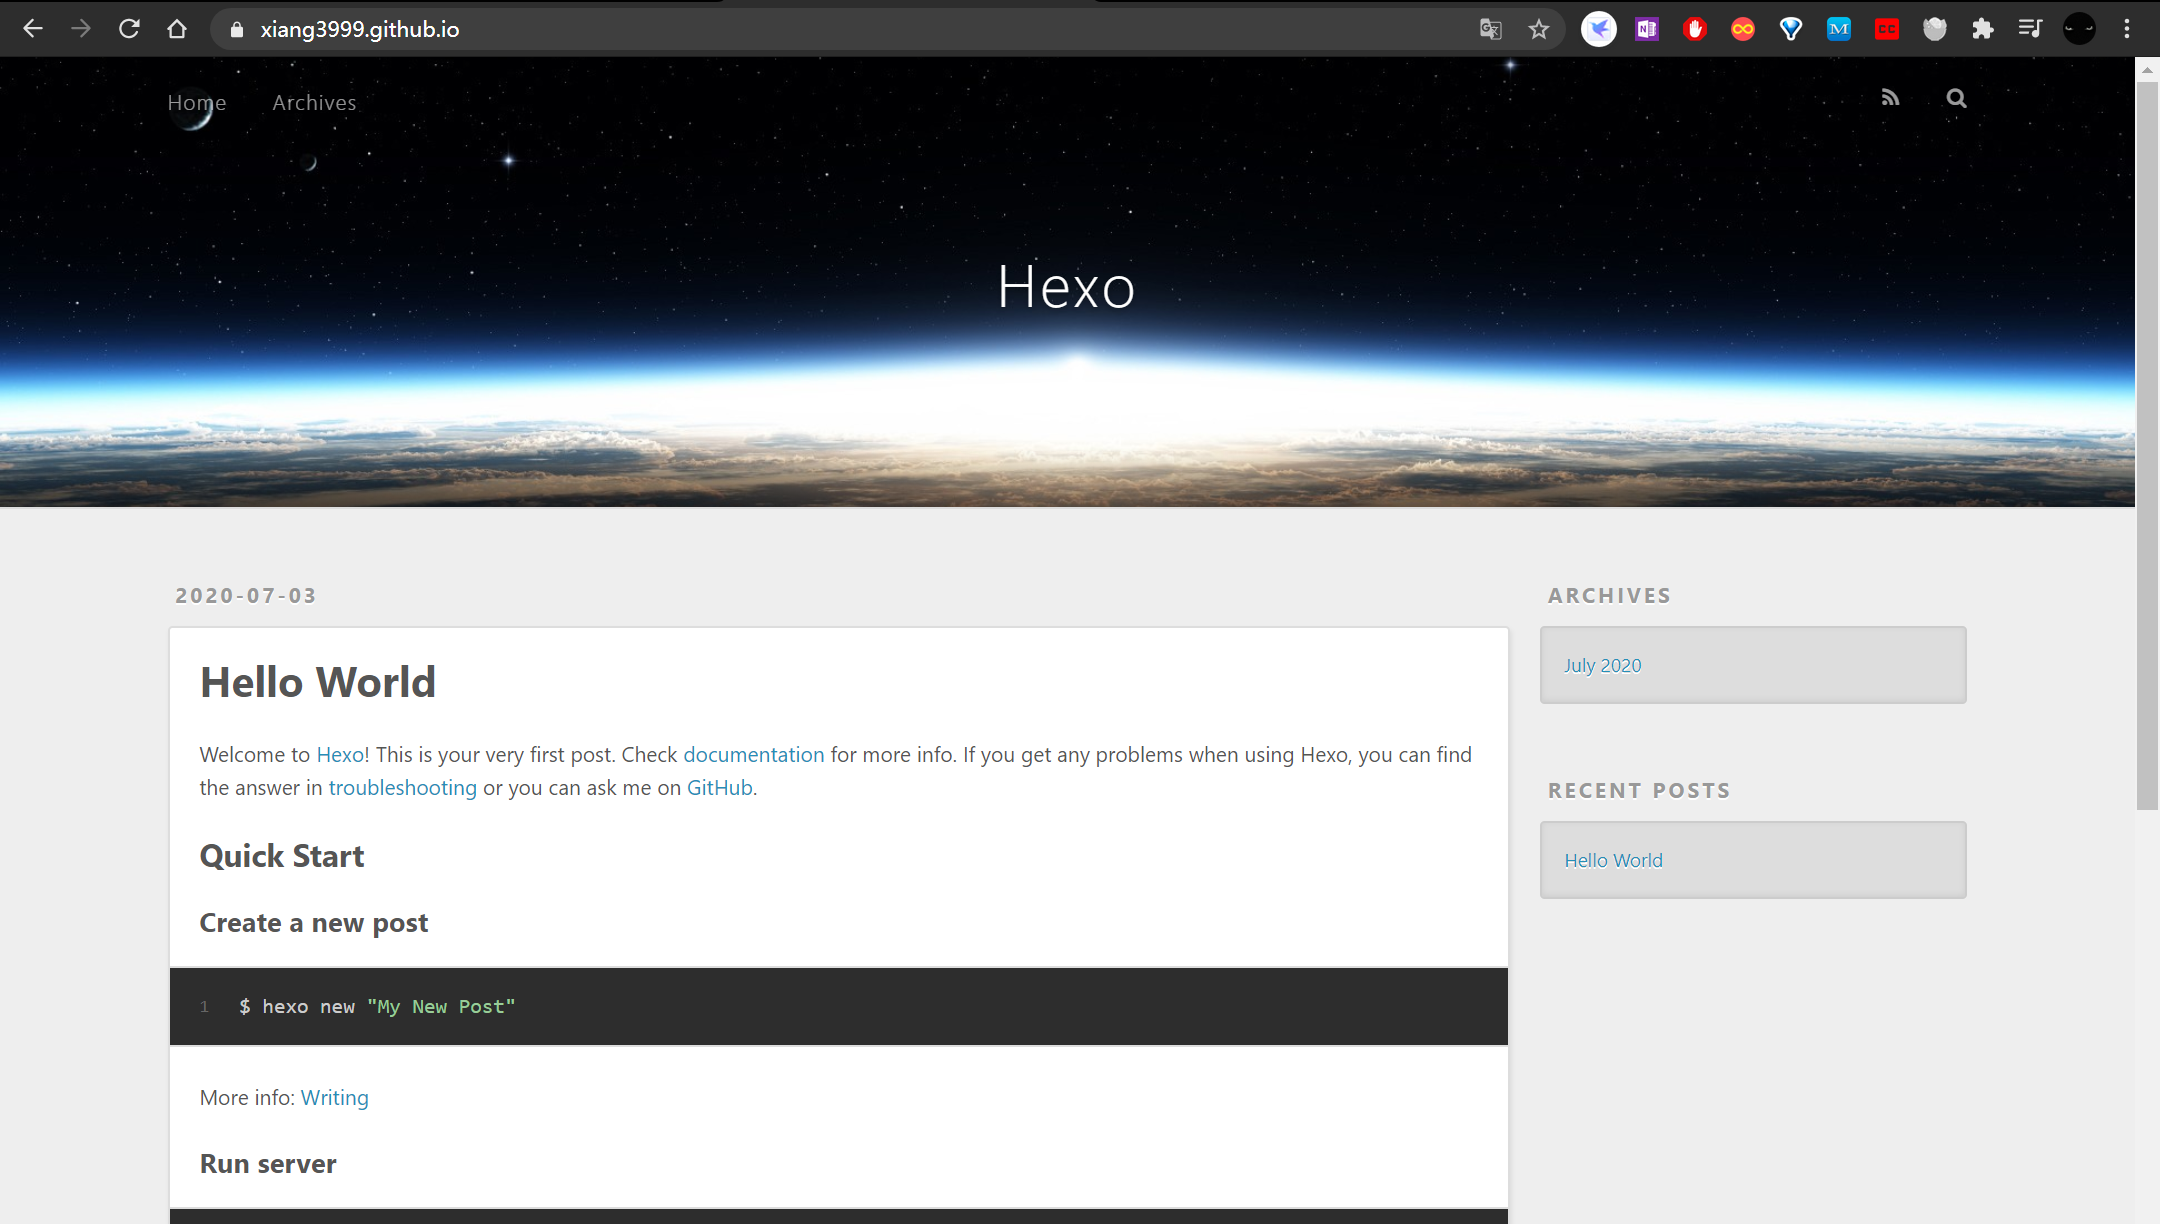
更改主题
https://hexo.io/themes/官网有超多主题
或者https://cn.bing.com/搜索hexo主题
这里我使用butterfly
1 | git clone -b master https://github.com/jerryc127/hexo-theme-butterfly.git themes/butterfly |
更改配置文件config
1 | theme: butterfly |
然后部署到远端